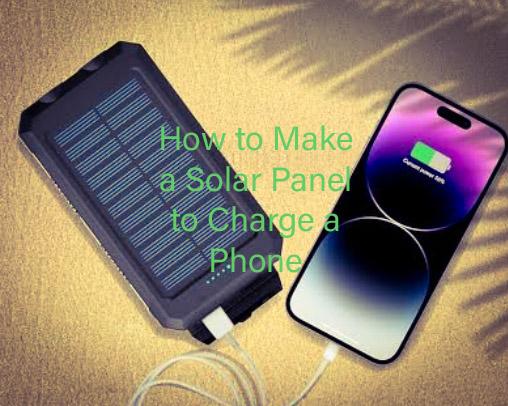
If you enjoy hands-on activities or derive joy from creativity, then you can create your own solar panel that you can use to charge your phone. If you create your own solar phone charger, it will help you understand the basis of solar power and, at the same time, help you save money while reducing your carbon footprint.
Making a solar panel to charge a phone is not difficult because it only involves a few steps. However, before you’ll be able to make your own solar panel that you can use to charge your phone, there is some equipment that you must have handy, like a USB boost converter, a diode, a soldering kit, etc.
Meanwhile, if you don’t know how to make a solar panel to charge a phone, there is no need to worry because we’re here to guide you. The process of making a solar panel phone is straightforward; with just a few steps, you will be able to create your own solar phone charger that you can conveniently use to power your phone.
Materials needed to make a solar panel to charge a phone

Before you’ll be able to make a solar panel that you can use to charge your phone, you will need to have the following materials:
- Small Solar Panel: The panels should be rated at 5–6 volts and 1-2 watts.
- USB Boost Converter: This converter should be able to convert solar power to a stable 5V output that is suitable for USB devices.
- Diode: A 1N914 or 1N4001 diode is suitable to prevent reverse current.
- USB cable: preferably a high-quality one that you can use to connect your device.
- Soldering Kit: for soldering iron and solder wire for connections.
- Multimeter: You will use it to test voltage and current.
How to Make a Solar Panel to Charge a Phone
Once you’ve gathered the necessary materials, you can follow the steps below to make your own solar panel, which you can use to charge your phone. The steps are:
1. Check the voltage of the solar panel and attach the diode.
- Check the voltage of the panel: Use the multimeter to check the solar panel’s output. The best output should be around 5–6 volts when placed in direct sunlight.
- Attach the diode. Solder the diode to the positive wire of the solar panel. This is to prevent battery drain when there’s no sunlight.
2. Set up the USB Boost Converter.
- Connect to the Solar Panel: Solder the positive wire (after the diode) and negative wire of the solar panel to the input terminals of the USB boost converter.
- Check Output: Use the multimeter to check and ensure the boost converter is giving out a steady 5 volts.
3. Connect the USB cable.
- Prepare the cable: Cut the USB cable to expose the red and black wires.
- Solder to Converter: Attach the red wire to the positive terminal and the black wire to the negative output of the boost converter.
4. Test the setup.
- Check connections: Ensure that all your connections are secure and insulated.
- Test Charging: Plug your phone into the USB cable and place the solar panel in direct sunlight. If you got the procedure right, your phone should start charging.
Conclusion
Making a solar panel that you can use to charge your phone is not difficult. Once you gather all the necessary materials, like a small solar panel, a diode, a USB boost converter, a soldering kit, etc., you can start designing your solar phone charger that you can use to power your phone by making use of the sunlight by just following the steps outlined in this guide. All the best as you embark on the creative journey of powering your phone using a solar phone charger.